参考https://typecho.hanzhe.site/archives/4.html
安装docker
使用官方脚本一键安装
curl -fsSL https://get.docker.com | bash -s docker可以指定阿里云镜像源
curl -fsSL https://get.docker.com | bash -s docker --mirror Aliyun现在安装docker自带docker compose无须额外安装
启动时使用以下命令即可
# 注意不是docker-compose
docker compose up -d
安装mysql
使用docker安装
services:
  mysql:
    image: mysql:8.1.0
    restart: always
    networks:
      mysql_network:
    ports:
      - 3306:3306
    command:
      - --default-authentication-plugin=caching_sha2_password
      - --character-set-server=utf8mb4
      - --collation-server=utf8mb4_general_ci
      - --explicit_defaults_for_timestamp=true
    volumes:
      - ./mysql:/var/lib/mysql
      - ./mysqlBackup:/data/mysqlBackup
    healthcheck:
      test:
        [
          "CMD",
          "mysqladmin",
          "ping",
          "-h",
          "127.0.0.1",
          "--silent",
        ]
      interval: 3s
      retries: 5
      start_period: 30s
    environment:
      - MYSQL_ROOT_PASSWORD=987654321
      - TZ=Asia/Shanghai
	container_name: mysql

networks:
  mysql_network:
启动mysql服务
docker compose up -d安装php服务
前置操作,获取默认配置
# 初始化目录
mkdir -p ~/docker/maccms

# 下载镜像
docker pull php:7.2-fpm

# 裸启容器
docker run -d --name php php:7.2-fpm

# 拷贝配置文件
docker cp php:/usr/local/etc/php ./php
mv php conf

# 删除裸启的容器
docker rm -f php
配置docker-compose.yaml
version: '3.9'
services:
  php:
    image: 'php:7.4-fpm'
    volumes:
      - './conf:/usr/local/etc/php'
      - './webs:/var/www/html'
    ports:
      - '9995:9000'
    restart: always
    environment:
      - TZ=Asia/Shanghai
    container_name: php
启动php服务
docker compose up -d执行以下命令安装插件
# 进入docker
docker exec -it php /bin/bash

# 切换目录
cd /opt

# 写入命令文件
cat << 'EOF' > init.sh
apt update
docker-php-source extract
apt install -y --no-install-recommends zlib1g-dev && apt-get install -y --no-install-recommends libzip-dev
docker-php-ext-install zip
apt install -y libwebp-dev libjpeg-dev libpng-dev libfreetype6-dev
cd /usr/src/php/ext/gd
docker-php-ext-configure gd --with-freetype --with-jpeg --with-webp
docker-php-ext-install gd
docker-php-ext-install pdo_mysql
docker-php-source delete
EOF

# 修改执行文件权限
chmod +x init.sh

# 执行命令
./init.sh

# 退出容器
exit

# 重启容器
docker restart php
注意,如果使用php docker镜像版本<7.4
需要修改
docker-php-ext-configure gd --with-freetype --with-jpeg --with-webp为
docker-php-ext-configure gd --with-webp-dir=/usr/include/webp --with-jpeg-dir=/usr/include --with-png-dir=/usr/include --with-freetype-dir=/usr/include/freetype2或者直接使用lnmp镜像部署
部署maccms
下载最新包:https://github.com/magicblack/maccms10/releases/
上传到目录:~/docker/maccms/webs(docker中映射的目录)
下载主题:https://github.com/196180/mxone/
上传到目录:~/docker/maccms/webs/maccms10-master/template
cd ~/docker/maccms/webs
unzip maccms10.zip

cd ~/docker/maccms/webs/maccms10-master/template
unzip mxone.zip

chmod 777 -R ~/docker/maccms/webs
nginx配置
server {
    listen       443 ssl;
    server_name  xxx.xxx.com;

    ssl_certificate /var/cert/xxx.xxx.pem;
    ssl_certificate_key /var/cert/xxx.xxx.pem;

    location ~ .php$ {
        fastcgi_pass 127.0.0.1:9000;
        fastcgi_index index.php;
        fastcgi_split_path_info ^(.+.php)(/.+)$;
        fastcgi_param SCRIPT_FILENAME /var/www/html/maccms/$fastcgi_script_name;
        include fastcgi_params;
    }

    location / {
        if (!-e $request_filename) {
            rewrite ^/index.php(.+)$ /index.php?s=$1 last;
            rewrite ^/admin.php(.+)$ /admin.php?s=$1 last;
            rewrite ^/api.php(.+)$ /api.php?s=$1 last;
            rewrite ^(.+)$ /index.php?s=$1 last;
            break;
        }
		# 对应你上传的maccms包的目录
        root /root/docker/maccms/webs/maccms;
        index index.html index.htm index.php;
    }
}
配置好后进入网站进行初始化:https://xxx.xxx.com/index.php

注意,此时服务器地址应为宿主机内网ip,127.0.0.1为docker内的ip并不是宿主机ip,127.0.0.1:3306无法连接到数据库;使用命令ifconfig找到docker网卡的ip即可,点击测试数据库连接按钮测试成功再安装
创建成功后显示

此时修改~/docker/maccms/webs/maccms/admin.php文件名为任意文件名,例如nishisb.php
mv ~/docker/maccms/webs/maccms/admin.php ~/docker/maccms/webs/maccms/nishisb.php进入https://xxx.xxx.com/nishisb.php
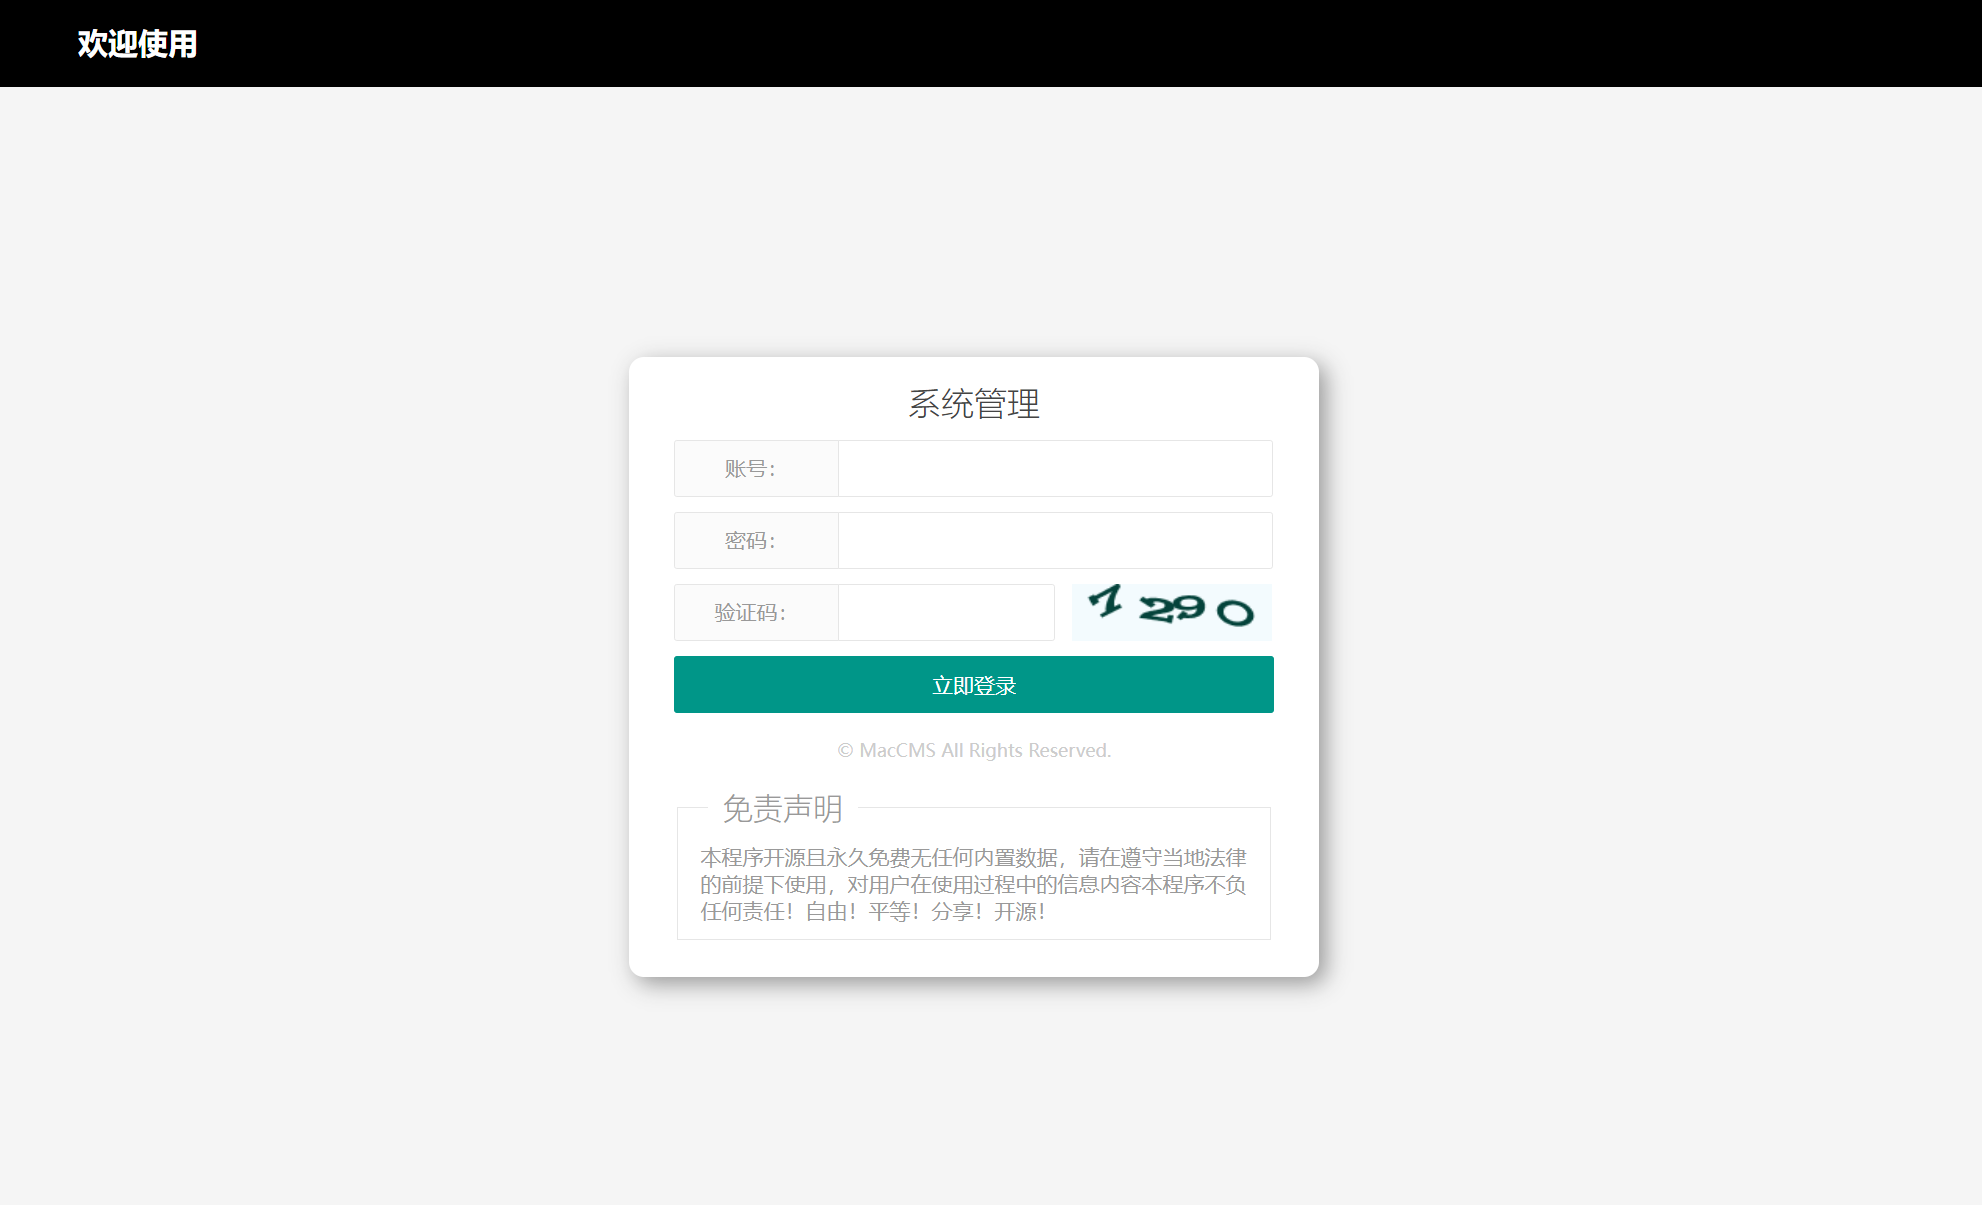
若样式显示有问题请在ngxin配置中加入
location /static/ {
	alias /root/docker/maccms/webs/maccms/static/;
}
若验证码无法显示,则说明php镜像中的gd扩展安装有问题,请重新安装
或直接关闭验证码功能:
修改/root/docker/maccms/webs/maccms/application/extra/maccms.php文件
'admin_login_verify' => '1' // 修改为0配置主题
首页->自定义菜单配置
添加一行:mxoneX主题,/nishisb.php/admin/mxone/mxoneset
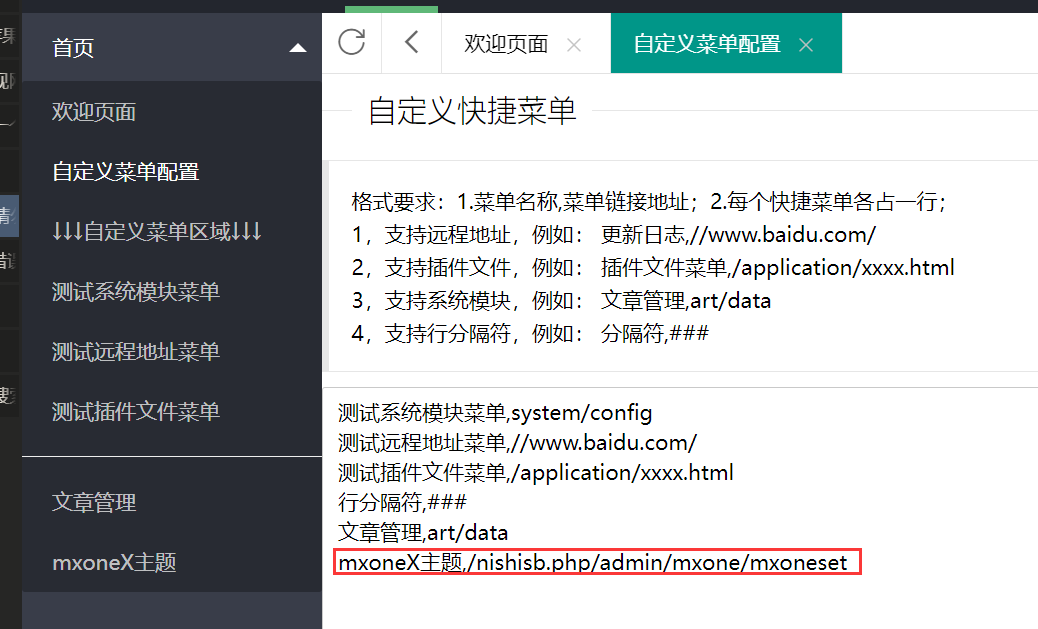
系统->网站参数配置
修改模板为mxone并保存
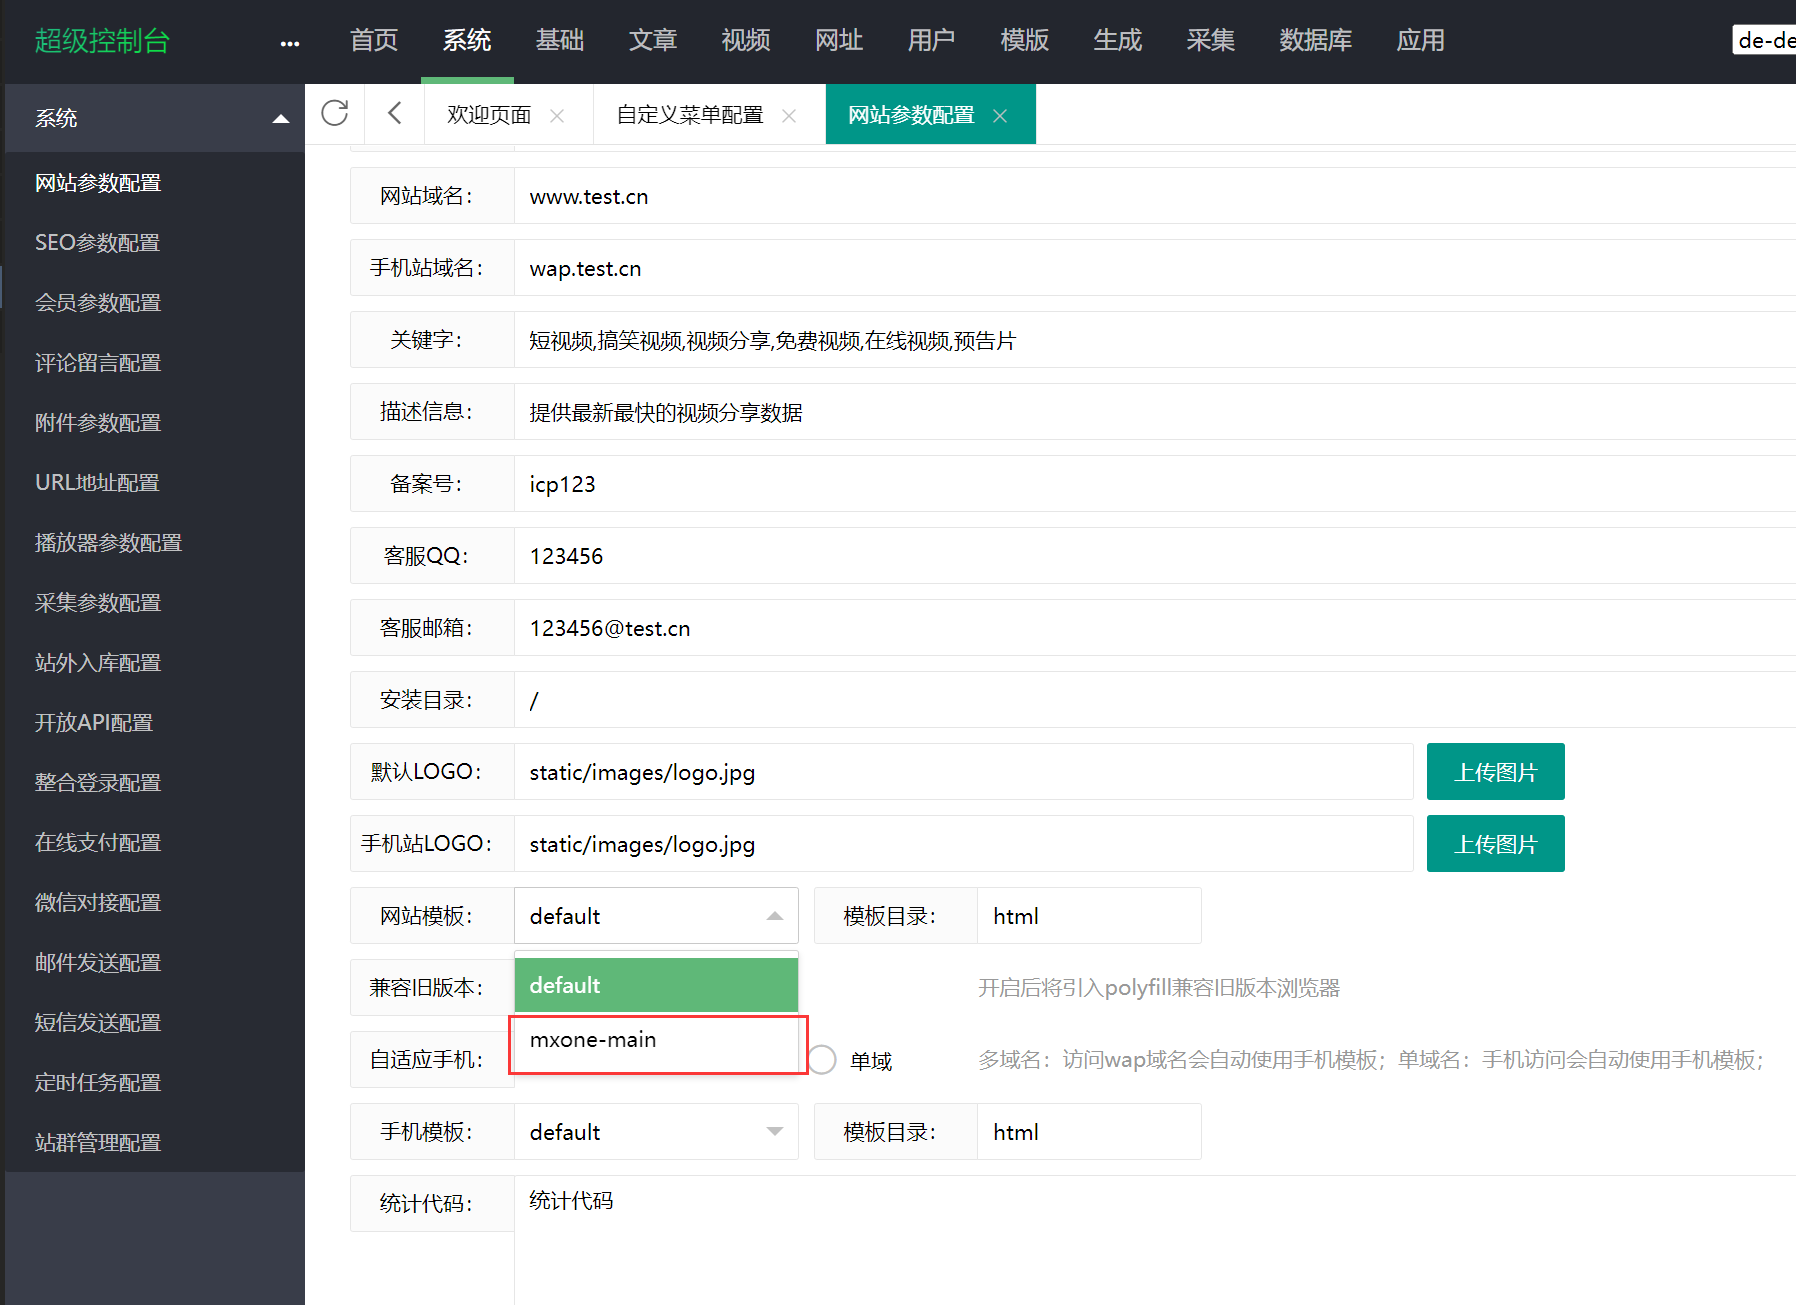
进入https://xxx.xxx.com/即可访问你的网站
添加资源采集接口
采集->自定义接口->添加
接口地址:http://cj.ffzyapi.com/api.php/provide/vod/from/ffm3u8/at/xml/
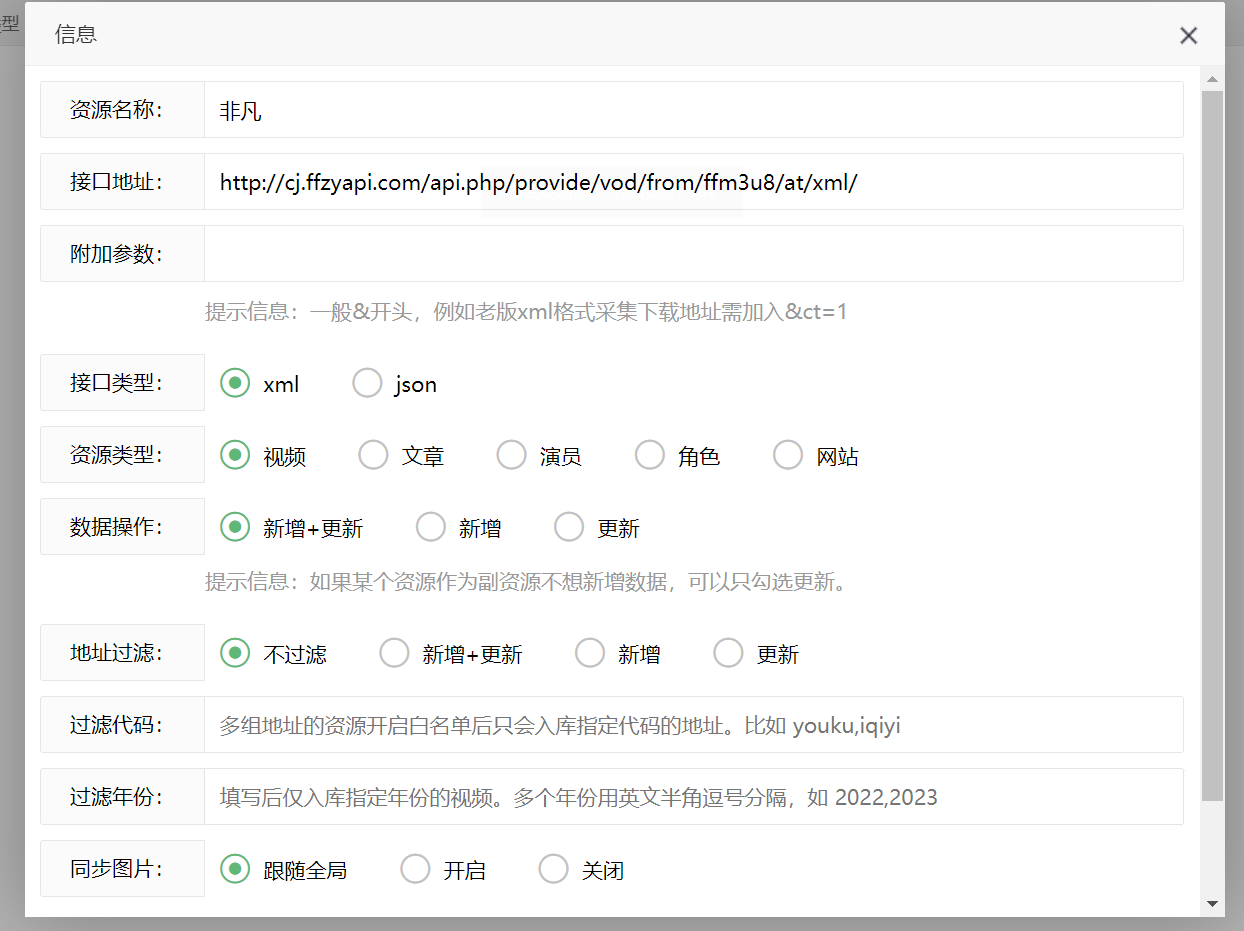
测试成功后保存
采集站::
非凡采集站:http://ffzy5.tv/ 150
索尼采集站:https://suonizy.net/ 40
量子采集站:http://lzizy.net 41
添加播放源
视频->播放器
导入mac_ffm3u8.txt
设置前台目录
基础->分类管理
根据非凡官网进行相应命名:http://ffzy5.tv
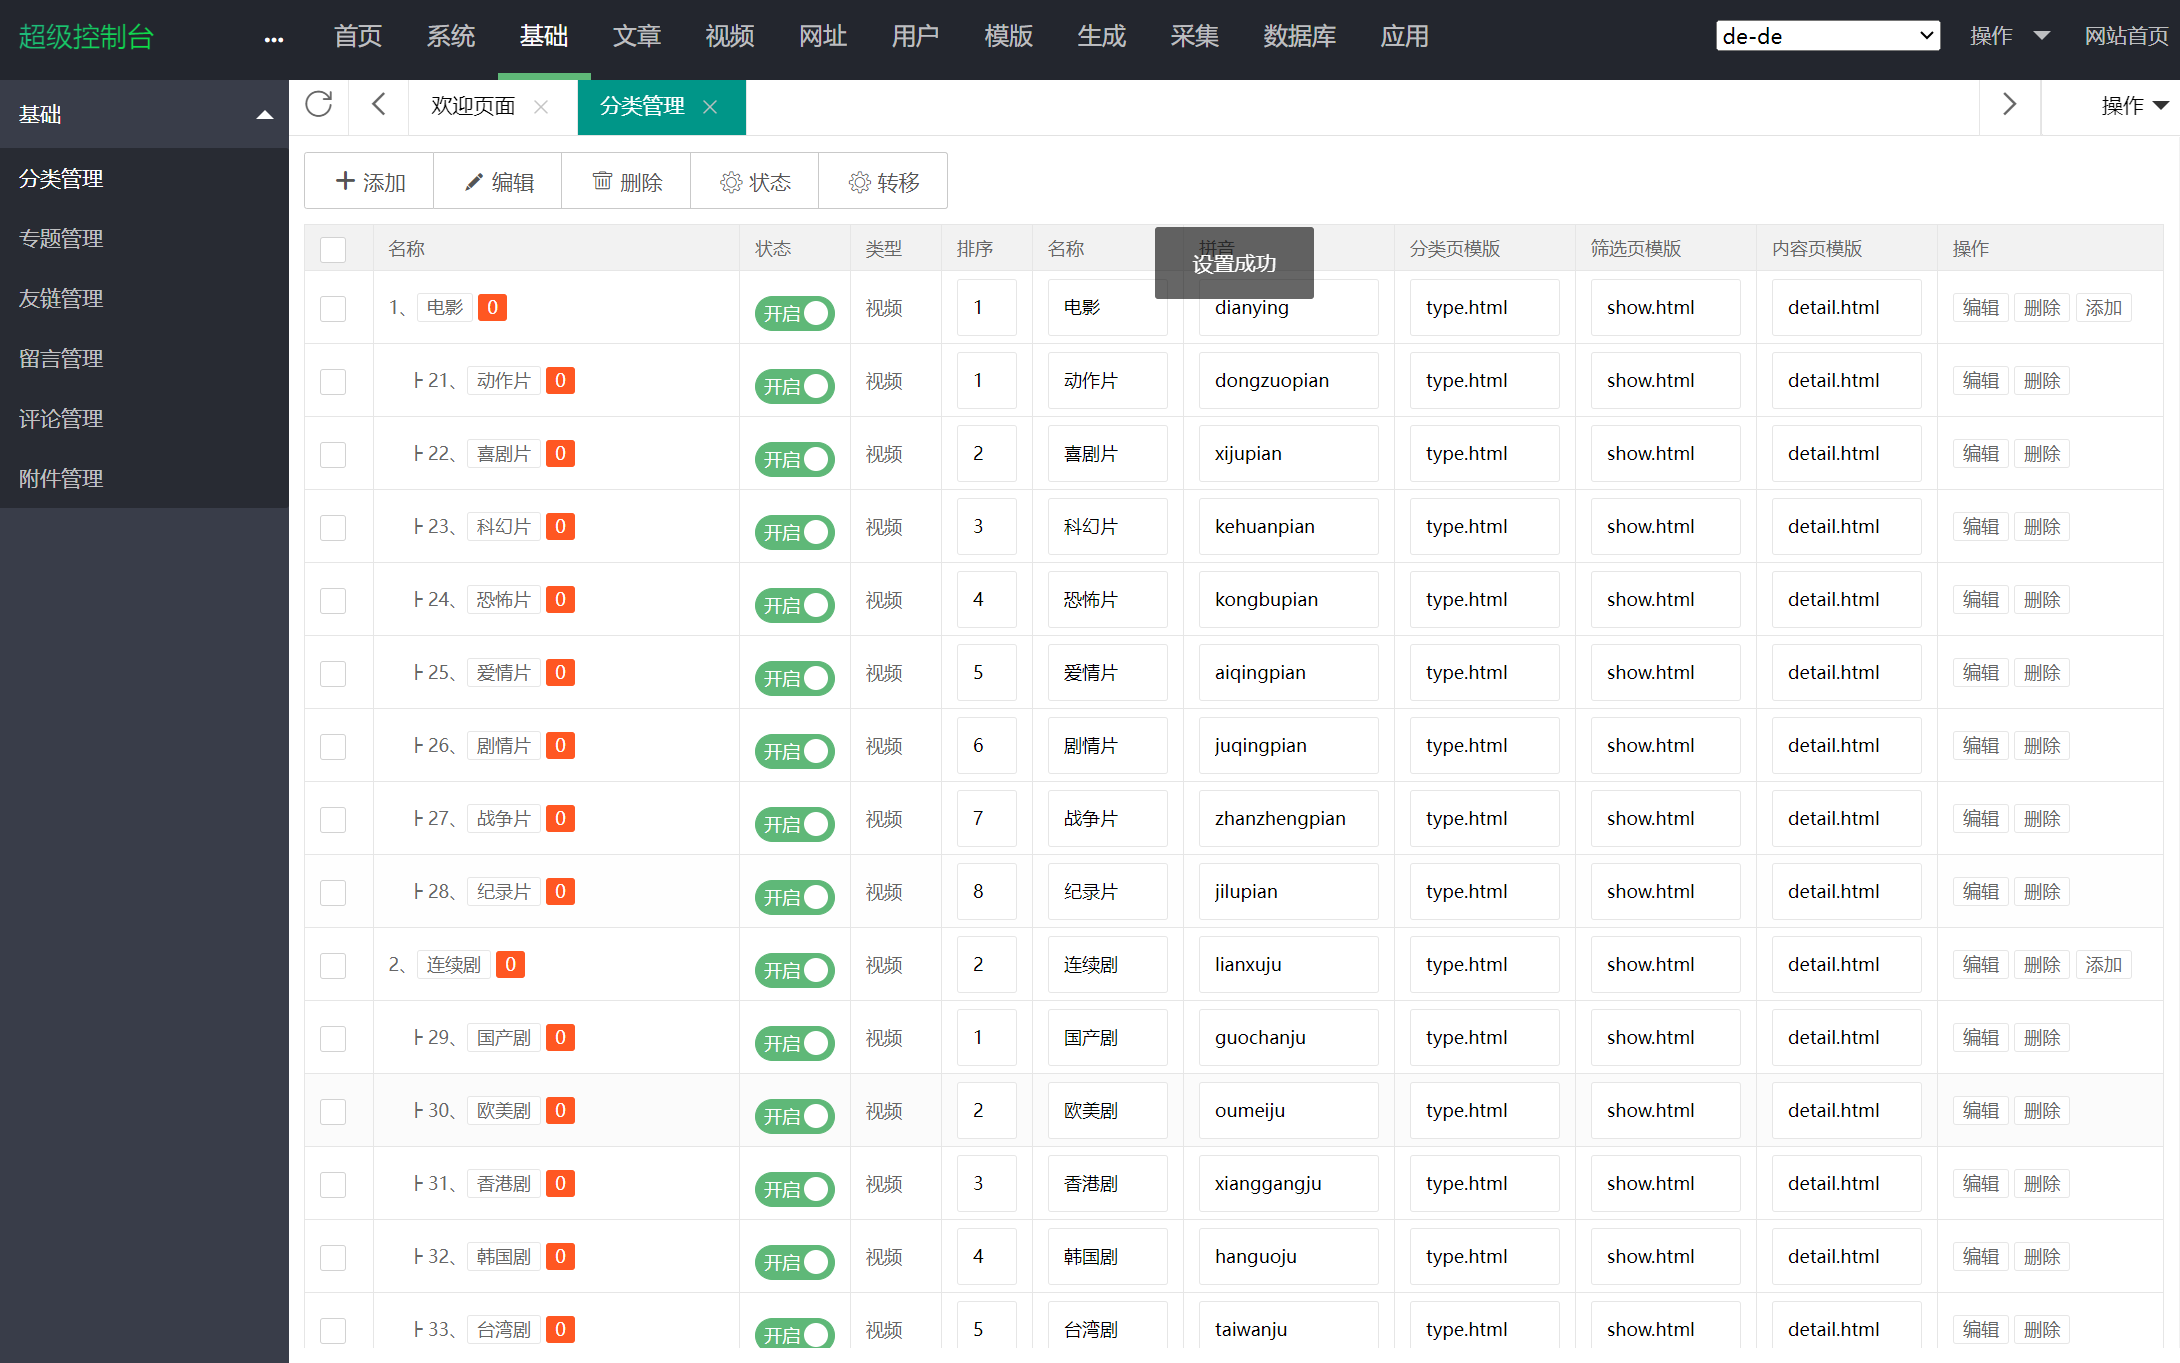
开始采集
采集->自定义接口->点击链接进入资源站
绑定分类

采集->自定义接口->你的采集链接->全部采集
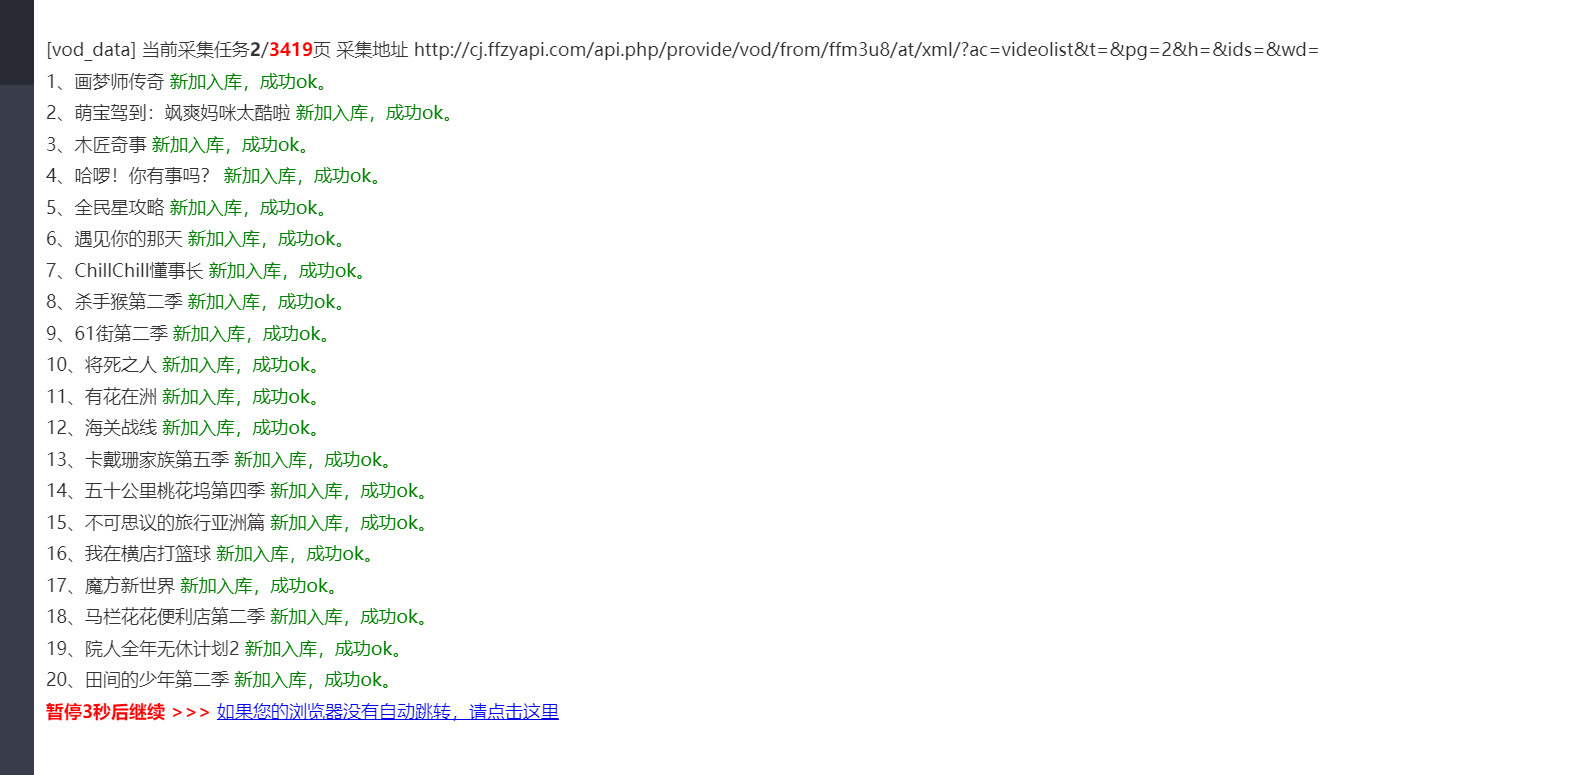
等待采集完毕访问网站即可
配置定时任务:
采集->复制采集当天地址->定时任务中配置此任务->取消所有时间勾选->复制测试链接->服务器中用crontab定时curl
其他细节参考:https://linux.do/t/topic/80455
问题处理
1、无法播放、播放页下载.m3u8文件,请清理缓存(查看服务器中对应播放器的静态文件,可能是权限问题,然后重启nginx)

